
Subscribe to continue reading
Subscribe to get access to the rest of this post and other subscriber-only content.
Keller Family Cookbook, and more!
Subscribe to get access to the rest of this post and other subscriber-only content.
Here’s another memory from Larry Keller
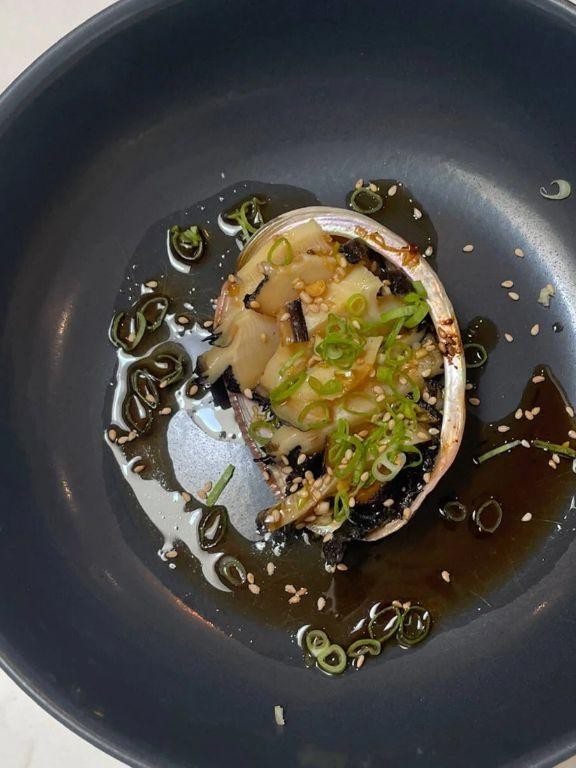
Long ago in a place not far away, the Keller family provided another adventure in eating that remains memorable, if a little painful. In about 1965, Dad, Mom and Kathleen decided that it might be nice to take a mini camping trip up to Salt Point, just outside of Fort Ross. Dad said that abalone season was open and that it might be fun to try to do a little fishing. I offered to join them. I had to work that day but could drive up later. Done deal. Somehow, my buddies Bill and Oddvar learned about the trip and, never having fished for abalone, wanted to give it a try. At around 7pm., we piled into my Chevy pickup and headed north. We found the campsite sometime after 11pm and settled in to get some sleep. Around 4:30, Dad wakes us up with the news that low tide is at 5:30 – get ready! Our manner of abalone fishing was wading and the gear was simple: jeans and tee shirt, old tennis shoes, a pry bar made from a sharpened leaf spring and a gunny sack for the catch. Lest it not be said, the sun wasn’t quite up, and the water was about 55 degrees! Dad and Mom started a fire on the beach and Dad decided that I should do the fishing, so that I could instruct my buddies…while he “tended the fire”. I found a promising group of rocks, just peeking above the water, waded into water just above my waist and invited my best friends to join me for their lesson. They demurred and said they’d learn by watching from shore. So, I told them that when I located an abalone, I’d toss it to them, and they could put it in the sack. By golly, it was cold! After exploring the bottom of the rocks with my hands, I found a really large specimen, pried it off and told one of the guys I’d throw it to him, which I did. It went right through his hands and, “plop”, back into the water. Luckily, I found 3 more and unluckily the boys dropped them all! By now, I was a little upset, seriously cold, shivering and the tide was coming back in. I asked my friends to toss me the sack with the 3 good sized specimens inside and headed for shore. I could hardly move for the shivering. Dad got me to the fire and Mom pulled out a bottle of red wine and helped me drink. That wine must have been a cross between Manischewitz and Carlo Rossi, but when the warmth and the sugar hit, I knew that all would be well. While I was enjoying my first taste of the grape, Dad was slicing the abalone and heating the cast iron pan to make one of the simplest and most elegant breakfasts ever: thin sliced abalone fried in hot oil (about 30 seconds per side), plated with lemon wedges and salted to taste with sides, if you wish. May be served with friends who can’t catch but are smart enough to stay out of cold water. Enjoy!
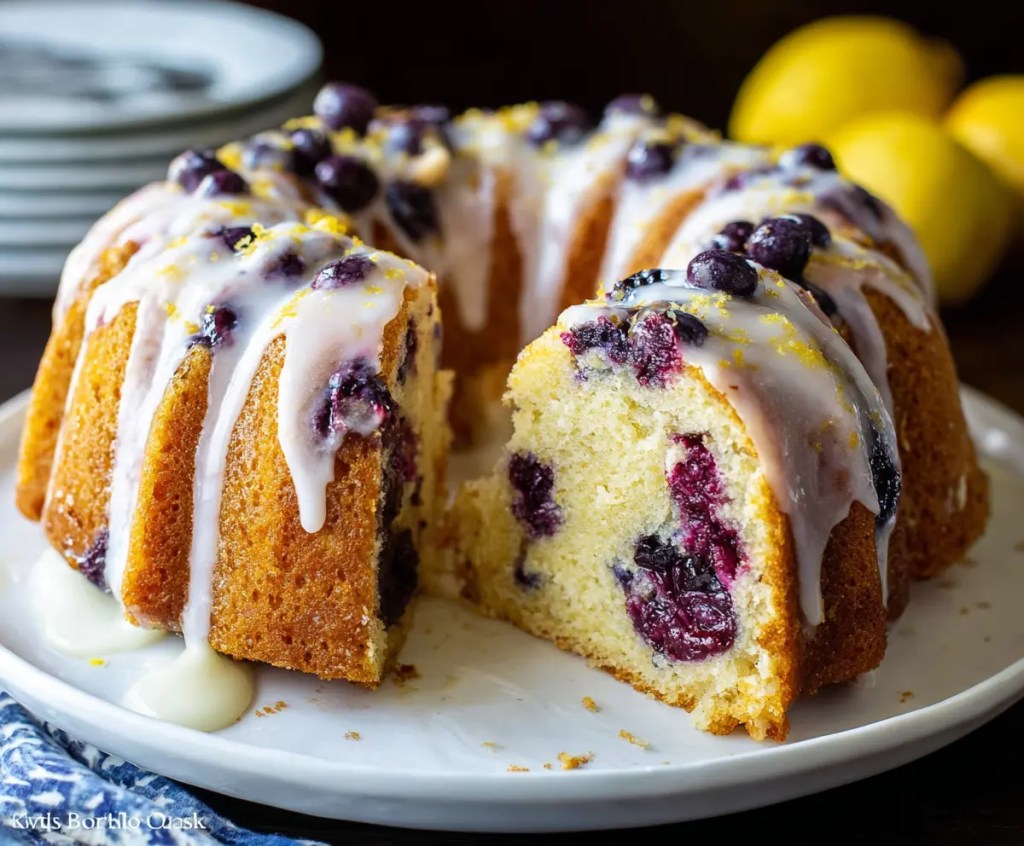
This month, I’m honoring two birthdays in the Keller family – Ingrid Roberts and Jim Keller – and I couldn’t think of a better way to do so than to include recipes for two of their favorite things – Lemon Blueberry Cake and a Moscow Mule!
From the time Jim and Jenness began spending their summers at their vacation home in Maine, Jim’s birthday was celebrated there. Maine is famous for its blueberries, so it was not a surprise to hear that, for at least one of Jim’s birthdays, Jenness, with the help of a visiting Josie Keller, made a Lemon Blueberry Cake for him. When I started checking out recipes, I was blown away by all the different versions of this cake, each one sounding more heavenly than the last! You can go very fancy and make a several-layer cake from scratch, which can include mascarpone, sour cream, or fresh yogurt, lemon zest inside and out, frozen or fresh berries, and top it all with either a buttercream or cream cheese frosting; or you can create a pretty one-layer or pound cake version, or even go the pour-everything-into-a-pan-and-bake route. After trying to narrow down the choices, I finally decided to go with the cake I would want to make. The Bundt cake below fit the bill for me! The part that takes the longest is the actual baking and cooling. Most of you know that when you are planning to apply a glaze afterward, you need the cake to be cooled down completely. We don’t have a recipe for Lemon Blueberry Cake in the family cookbook, so I’m including the recipe I selected. If we ever put together a second volume of our family cookbook, I think a version of this cake should definitely be in it! I can’t wait to try this one!
Prep Time: 15 minutes
Cook Time: 1 hour 50 minutes
Servings: 12
2 cups powdered sugar
3 tablespoons water or lemon juice
½ teaspoon vanilla extract
The second part of our birthday celebration belongs to the fabulous and super refreshing Moscow Mule!

My introduction to the Moscow Mule was at Jim and Jenness’ house. I was visiting them one warm summer evening shortly after they had moved into their new home. Larry wasn’t with me. I don’t recall why anymore. It was also the first time I had driven to their place by myself. No GPS – I was still pretty old-school at that time – but thankfully, I had some good directions from Jenness. When I entered the house, Jim steered me over to the kitchen, raised a chilled copper mug with his hand, and asked, “Would you like a Moscow Mule?” I’d never had one before, but the mug was gorgeous, and he looked eager to share, so, of course, I said “yes”! He had 4 beautiful copper mugs set out on the kitchen counter. Jenness, it turned out, didn’t care for Moscow Mules, so it was just Jim and me. First, he muddled some large mint leaves into the bottom of two chilled copper mugs. Then he poured in the ginger beer, vodka, squeezed some lime juice into the mix, and stirred this lovely concoction together while I stood there and watched. I think there was an ice cube or two in there, as well, but I’m not sure anymore. I’m pretty much a sucker for all of those flavors separately, so tasting them together that summer evening was heaven! I was thankful he didn’t offer me another, because one on an empty stomach was just about right. I have had many Moscow Mules since that first evening and have learned that there are quite a few variations. Some recipes don’t use mint at all. If you’d like to give it a try, you can find Ciana’s delicious Moscow Mule recipe in the family cookbook on page 89. After Jim passed away, Ingrid and I made a point of ordering a Moscow Mule in his honor when we got together. It has become a lovely tradition and keeps him and that special evening fresh in my mind. Happy Birthday, Ingrid and Jim!

When I was growing up in San Francisco, my father (Rex Keller) frequently took me out to Playland at the beach. I was probably between 8 and 12.
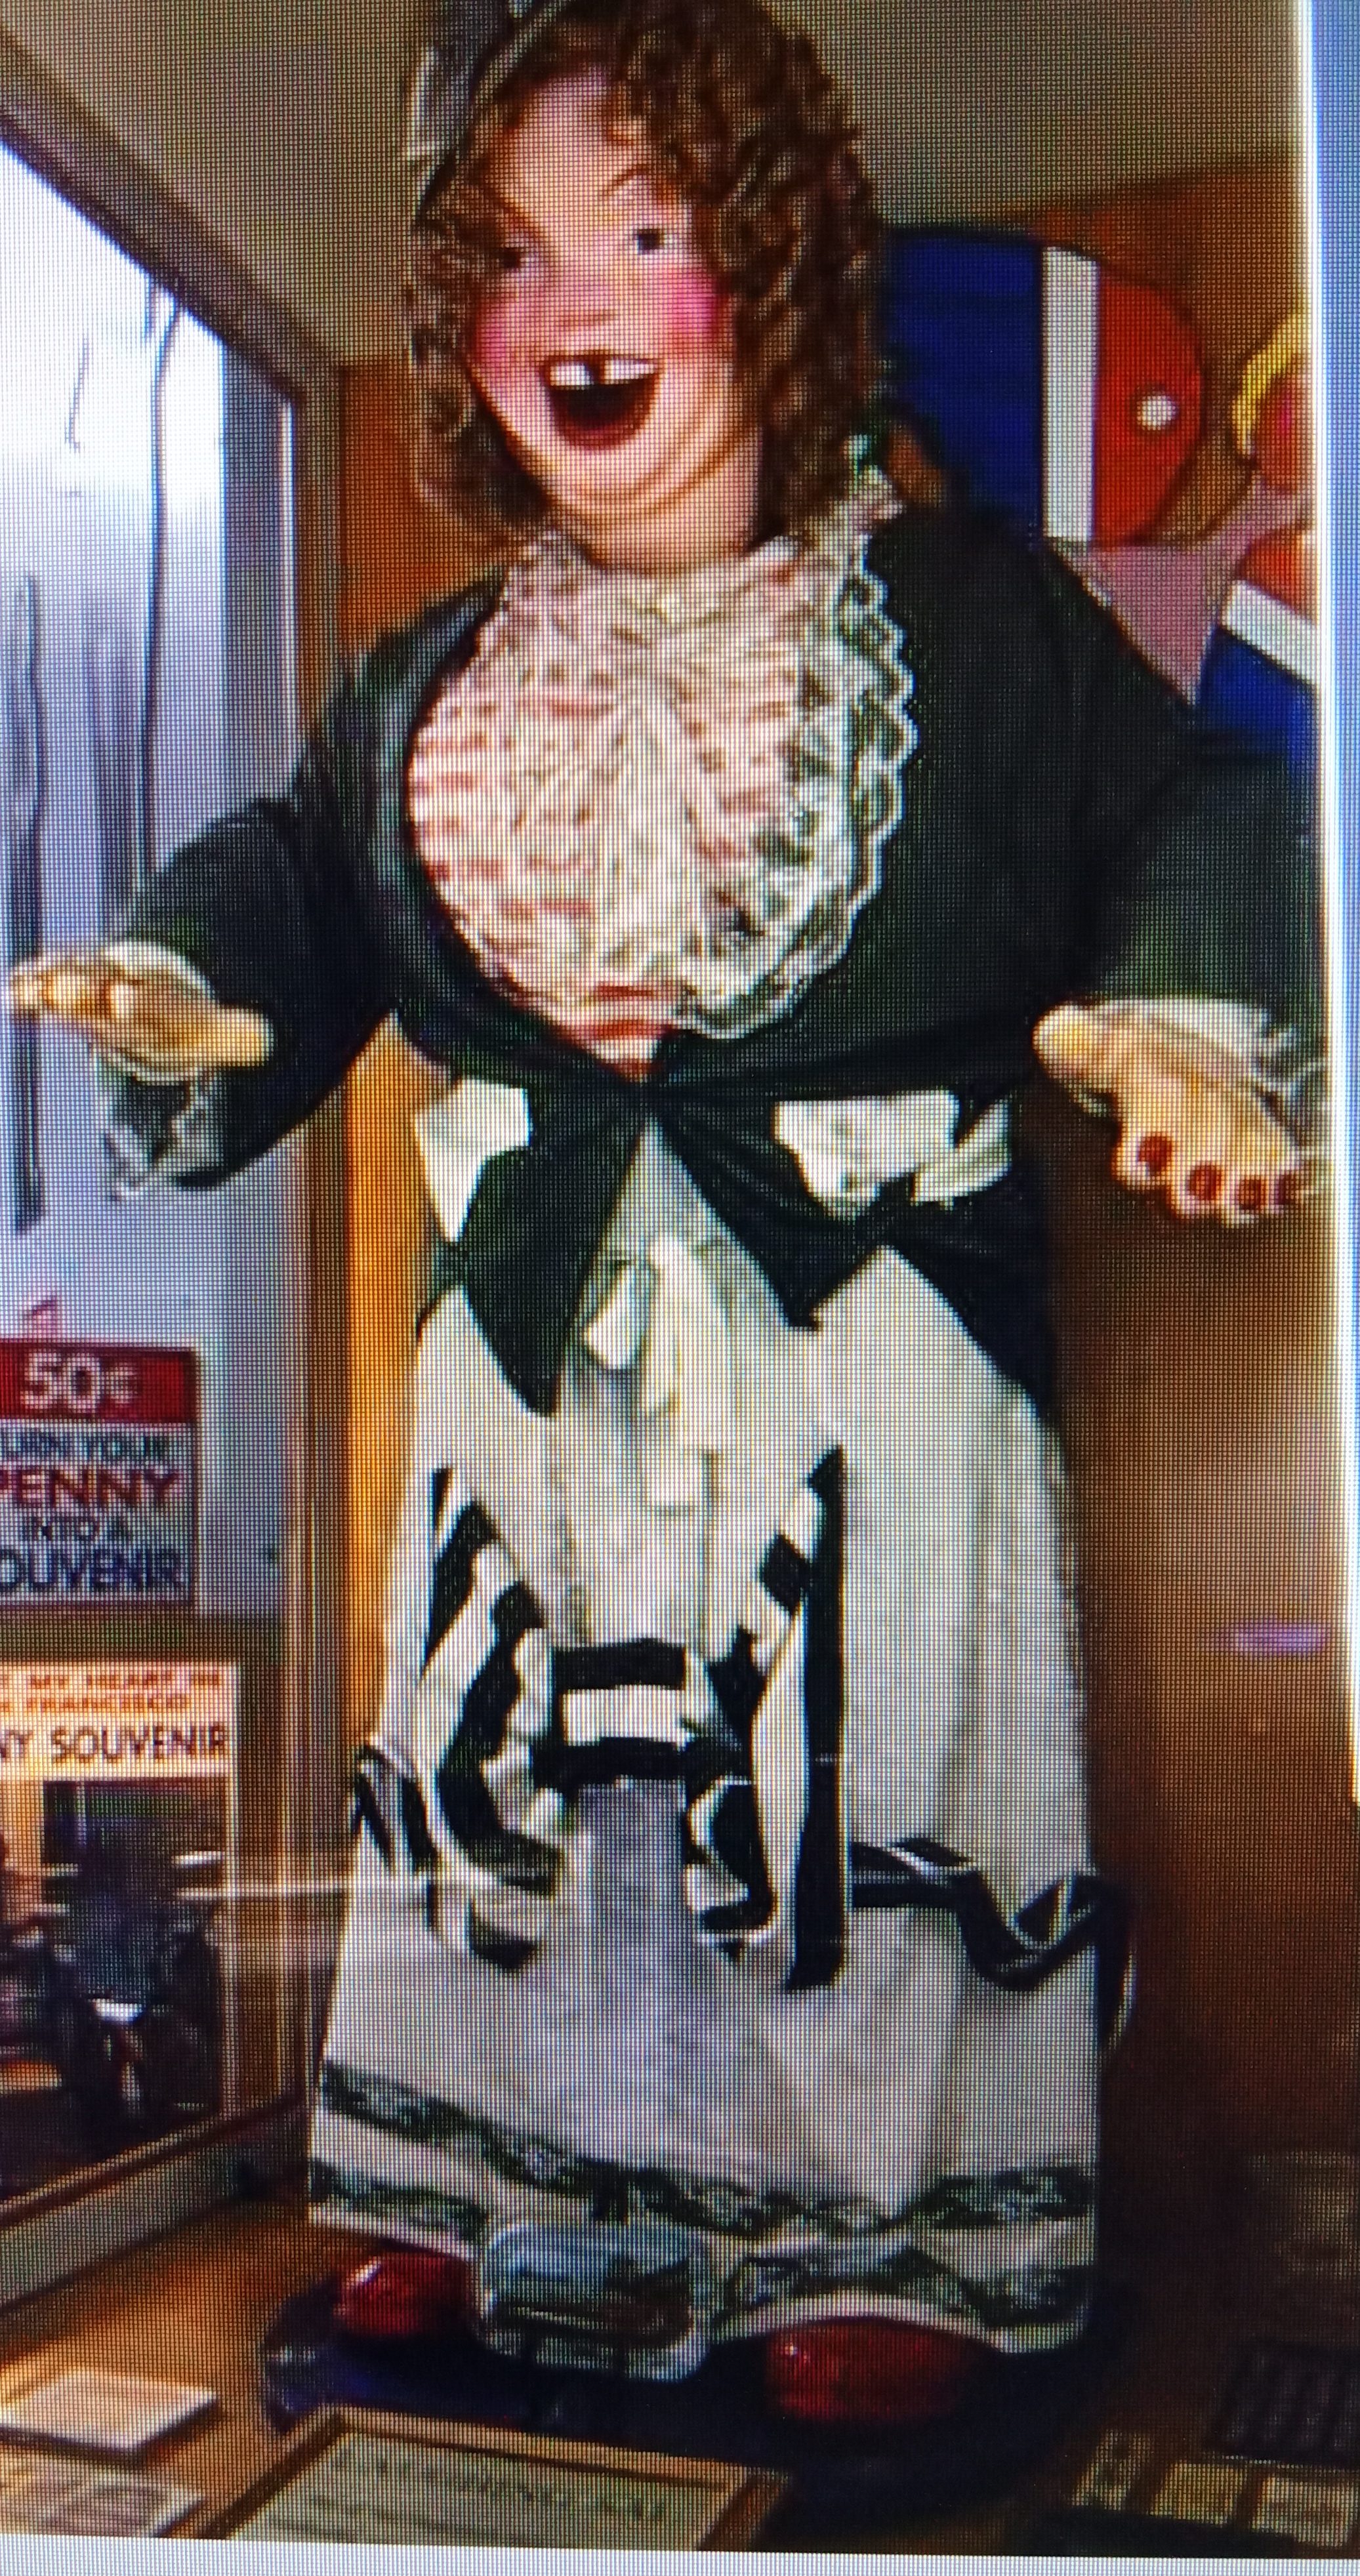
At the entrance to the Fun House was a very scary bigger than life sized animatronic creature called Laughing Sal. She gave kids nightmares for years. I can still hear her laugh. The Fun House consisted of huge spinning barrels that you needed to squeeze through , slides, a house of mirrors, and a crazed guy up in the booth overseeing it who would blow cold air up your legs through holes placed throughout the building in the floor.
Playland is long gone now, but still elicits a lot of memories. Dad and I went many times to have lunch at the Hot House. We always sat at the counter and I’d always have enchiladas and he always ordered a bowl of menudo. One taste of that was enough for me, but those were some great enchiladas! In the photo you can see in the upper right the ‘ITs It’ logo, so of course we went next door for dessert. Happy memories spent with my Dad.
by Larry keller
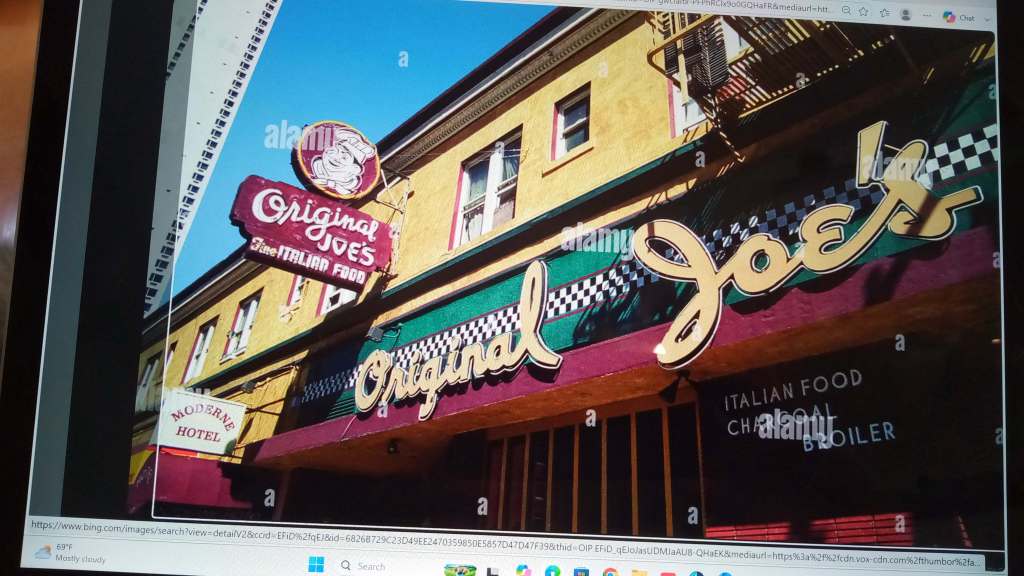
Well, family, here we are, halfway through the year, and it’s time for another family recipe for your consideration. In this case, it will be Joe’s Special. First, though, a little family history: way back in the late 1950’s Dad, Mom, Jim, Kathleen, and I were living in the Haight-Ashbury in San Francisco. As the spirit moved him, Dad would sometimes take Jim and me (sorry, Kathleen, you were about 3) somewhere unique to broaden our exposures. This evening, we were treated to a trip to the Tenderloin district for supper at the Original Joe’s at 144 Taylor St near Market. The area was pretty sketchy even then, but we were with Dad, so we felt ok. This was the original Joe’s, which opened in 1937. We settled into this really neat, old-timey place replete with an open kitchen, lively diners, and tuxedoed waiters. It had a broad menu and even a famous hamburger. Clearly Dad had eaten here before, and he ordered the Joe’s Special for all of us and an interesting side dish for himself. Jim and I LOVED ours and were just getting started when Dad served each of us an offering from his side dish. It was tasty and creamy, and we were ok with it until he told us it was… sweetbreads. Ugh, offals! That was enough of that, and we chased it down with the rest of our meal, much to Dad’s amusement.
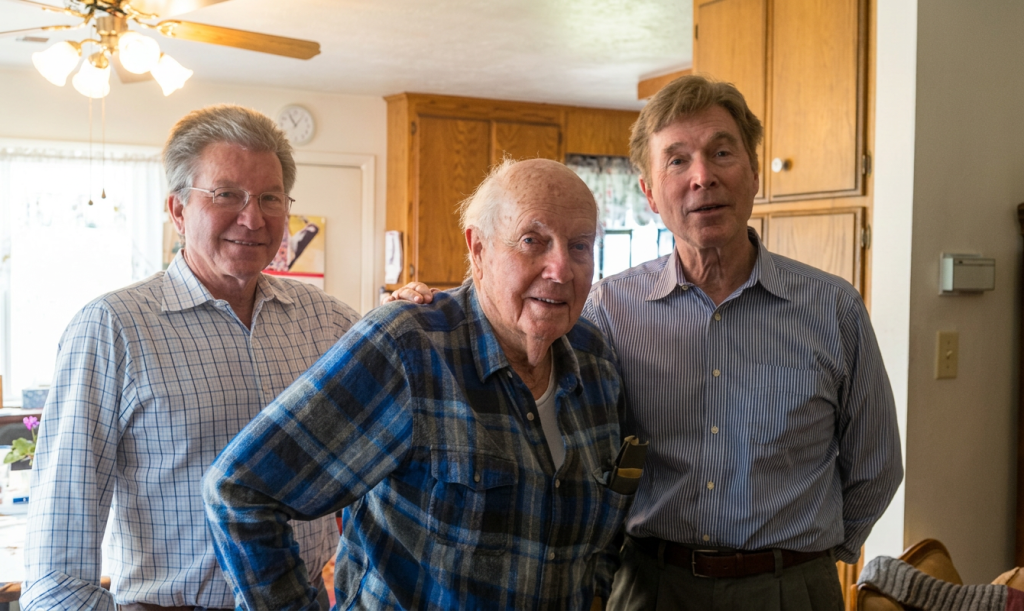
Our family’s love of what we simply called Special began that night and we made it at home many times over the years. Special is a quick and inexpensive one pan meal that always satisfies. Served with a fresh salad and slices of crispy sourdough bread it is a complete meal any time of the day.
A recipe for Special is on page 34 of the Family Cookbook, but you may also enjoy this one, which is my new favorite:
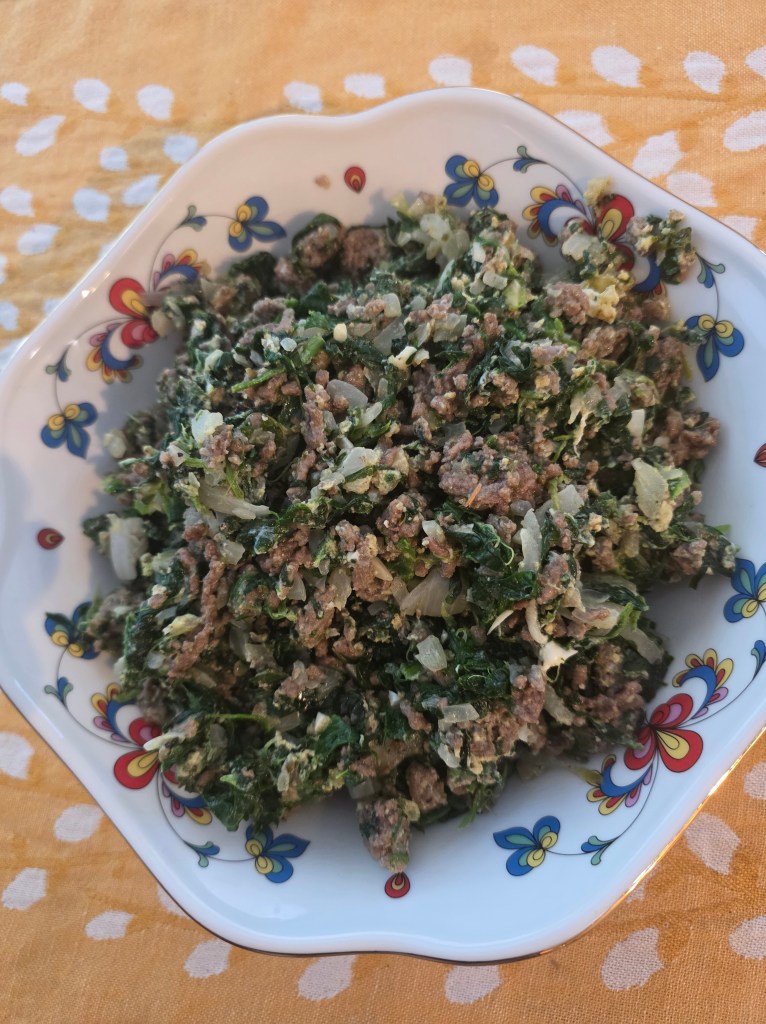
Ready in 20 minutes, Serves 4-6
INGREDIENTS:
4 eggs
1 tablespoon olive oil
1 tablespoon butter
1 pound lean ground beef
1 small onion, finely chopped
2 garlic cloves, minced
1 – 10-ounce package frozen chopped spinach, thawed and drained
2 teaspoons chopped fresh basil or 1/2 teaspoon dried basil
1/4 teaspoon dried oregano
1/4 teaspoon nutmeg
Salt and pepper to taste
DIRECTIONS:
Beat the eggs and set aside.
Heat the oil and butter in a large heavy skillet over medium heat.
When the butter has melted, add the ground beef and cook, stirring occasionally, until browned and crumbly.
Add the onion and garlic and cook until the onion is tender but not browned.
Stir in the spinach, until well mixed.
Add basil, oregano, and nutmeg. Adjust the seasonings to your taste.
Add the beaten eggs to the beef/spinach mixture and cook until the eggs are set, about 3 minutes.
Add salt and pepper to taste.
NOTE: Even though cheese is not included in the recipe, after we took the photo, we decided to sprinkle a goodly amount of Parmesan Reggiano on top to add an extra depth of flavor. Which it did! Enjoy!
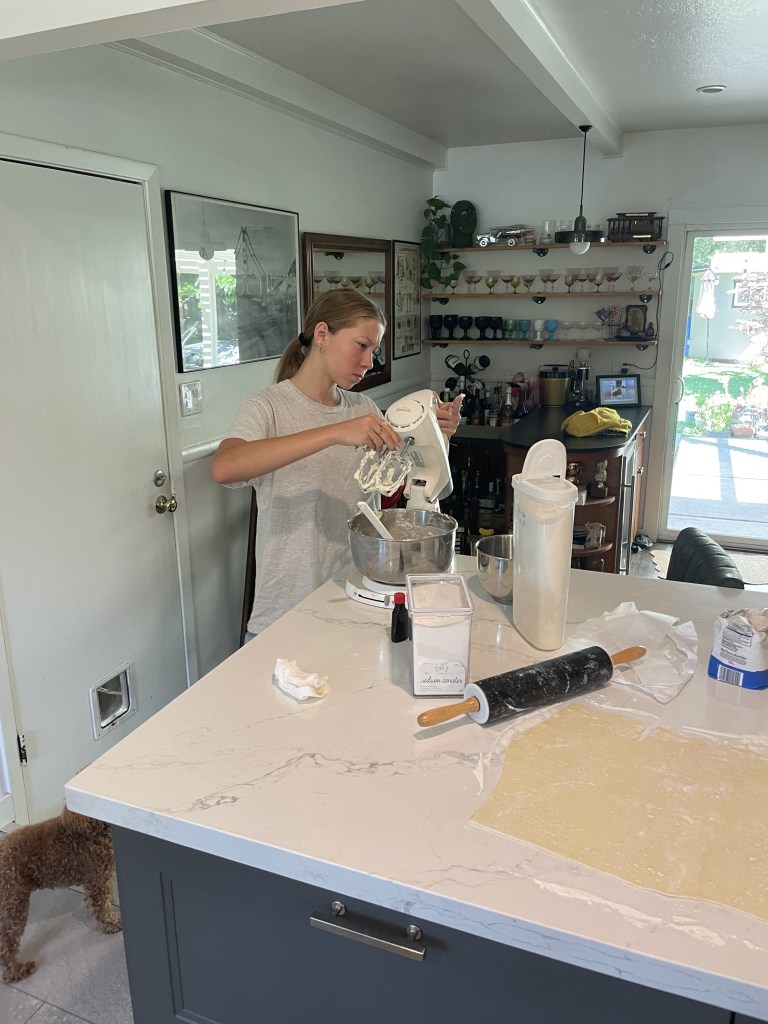
Jenna, hard at work!
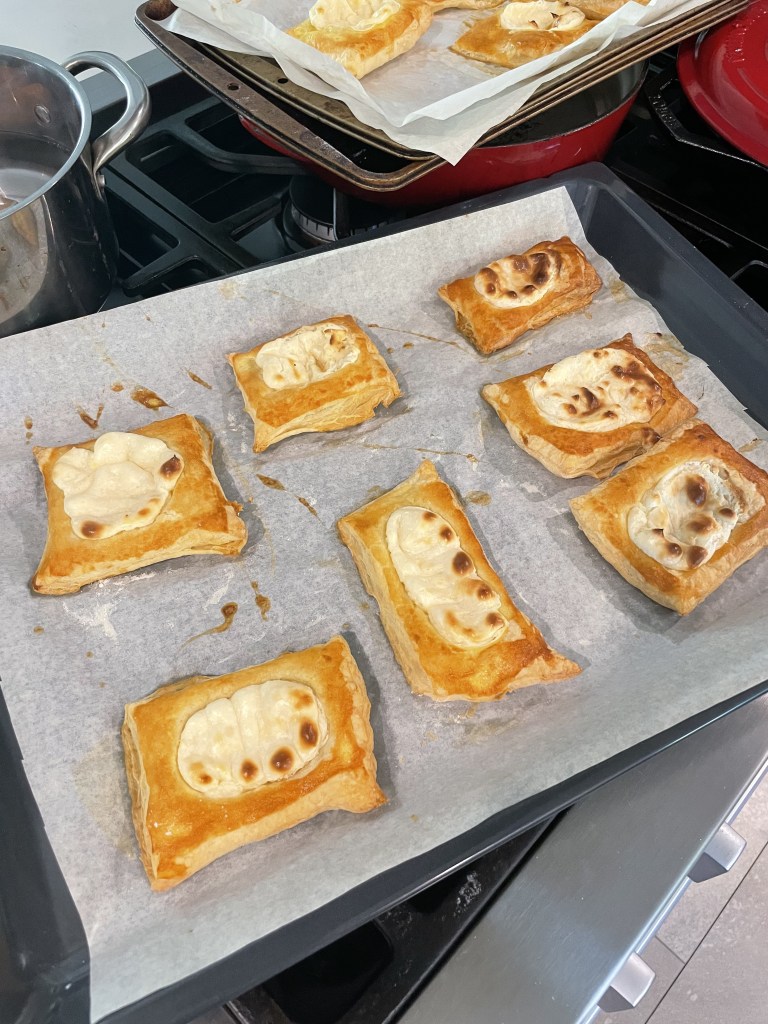
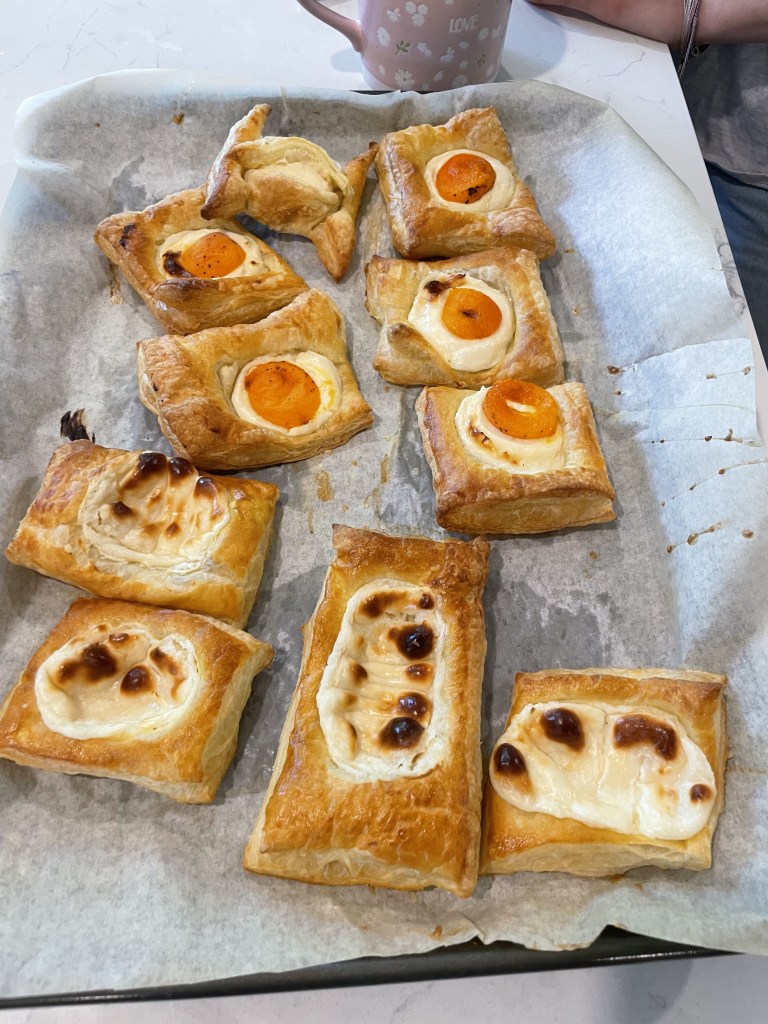
Who doesn’t love a sweet treat every now and then? And who loves the convenience of the Starbucks Danishes? What’s better than cooking with your family? Well, the girls and I were motivated to try a Cheese Danish recipe that we found online, and so, we made some and gave them to people in our neighborhood. Who knew how much joy this simple act would bring? It all started with the puff pastry from the store. We added some apricots on top from my dad’s friend’s garden. We delivered them to one neighbor who is going through some chemo. She quickly texted us back and said they were the most delicious things she had had, and that’s a huge compliment because she can’t taste much with all the side effects. It brought us a lot of joy, so we brought her another plateful. Then we delivered some to our neighbors who were just returning from Europe. It was a surprise that she had just written down on her grocery list that she wanted some pastries, coffee cake, or something sweet. So, when we brought the Danishes over, she was very pleased. They gave us a 10 out of 10, saying they would purchase these Danishes if we were to open up a bakery! The last delivery was to my parents, and I know my mom would have loved to sit and have coffee and tea and eat them together. Which reminds me of Grandma Margaret. Every time we would go and visit her, she would always make us tea and bring out a tin of cookies. I hope you find this recipe easy to follow and are inspired to bake for yourself or for someone else. You never know what kind of joy you can bring. As a side note, this may be the last year I have all my kids here, as Jenna is a sophomore in High School, Josie will live here until she gets married next summer, and Cade is returning to Sacramento after living in Chico for 6 years and 3 seasons with Cal Fire. He will then return to college at CSUS. I look forward to cooking, laughing, and lots of messes!
RECIPE FOR CHEESE DANISH:
Prep time: 10 minutes; Cook time: 15 minutes; Total time: 25 minutes; Makes 8 pastries
INGREDIENTS:
8 ounces cream cheese, softened
1/4 cup granulated sugar
1/2 – 1 teaspoon pure vanilla extract, optional
1 sheet puff pastry, thawed if frozen
1 egg
1 tablespoon water
DIRECTIONS:
Now, who would like to share a story and a recipe in July?
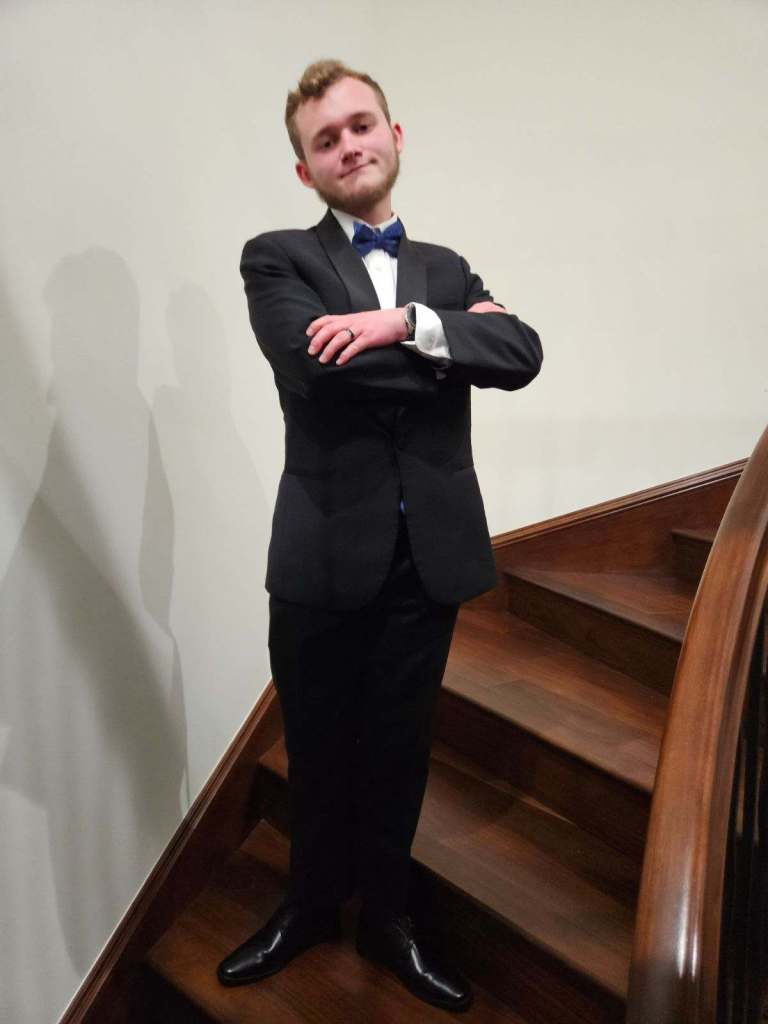
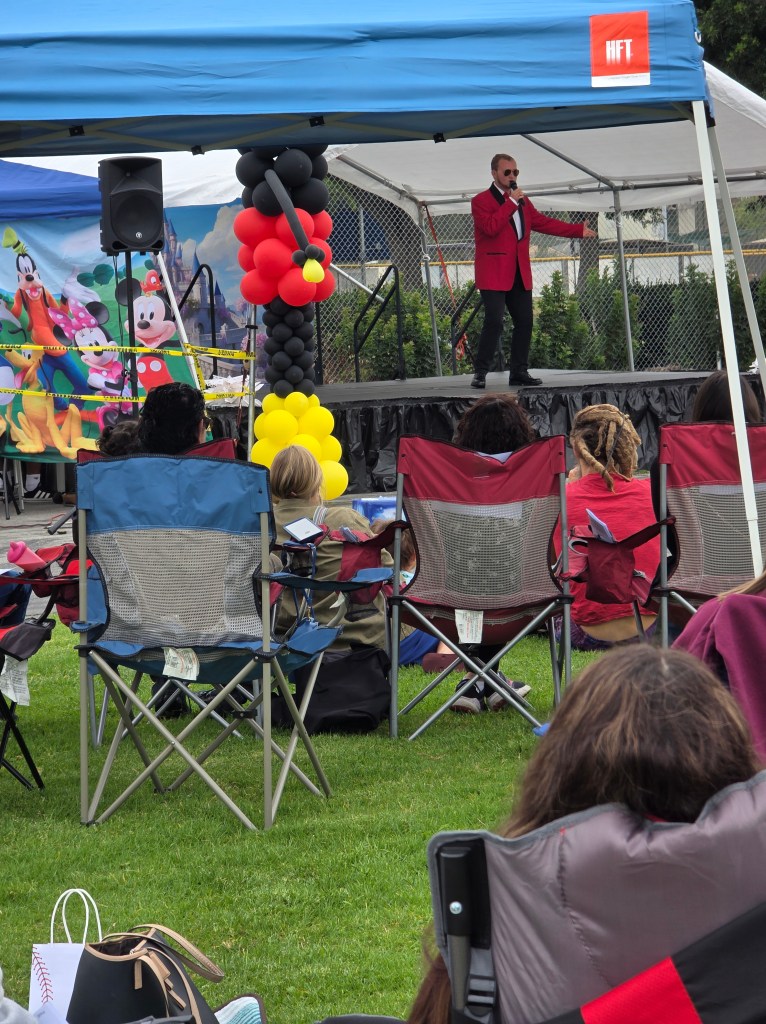
On June 7, our James will be 21 years old! This is a huge birthday in any young person’s life, but there’s so much more to celebrate as James reaches this milestone! When I think back on how much work he’s put in to becoming the beautiful and fine young man that he is now, it’s almost too much to comprehend! It was not an easy road for him or for his mom. From early on, there were inner and outer battles that needed to constantly be overcome, as well as pressures to expose his senses to tastes, sounds, and smells that his body did not like. But with a lot of encouragement, love, and support from Heather, James persevered and kept moving forward. James is now everything and even more than we had wished for him. He’s wonderfully comfortable in his own skin and has become a confident and accomplished person in his own right. Recently, he performed at a local talent show and, not surprisingly, was such a hit that people were asking to have their picture taken with him!
And so, to celebrate James, I’ve gone outside of our Family Cookbook and would like to share with you the special cake that I will be making for this occasion. It is called Kransekake (wreath cake). The Norwegian version looks like this:
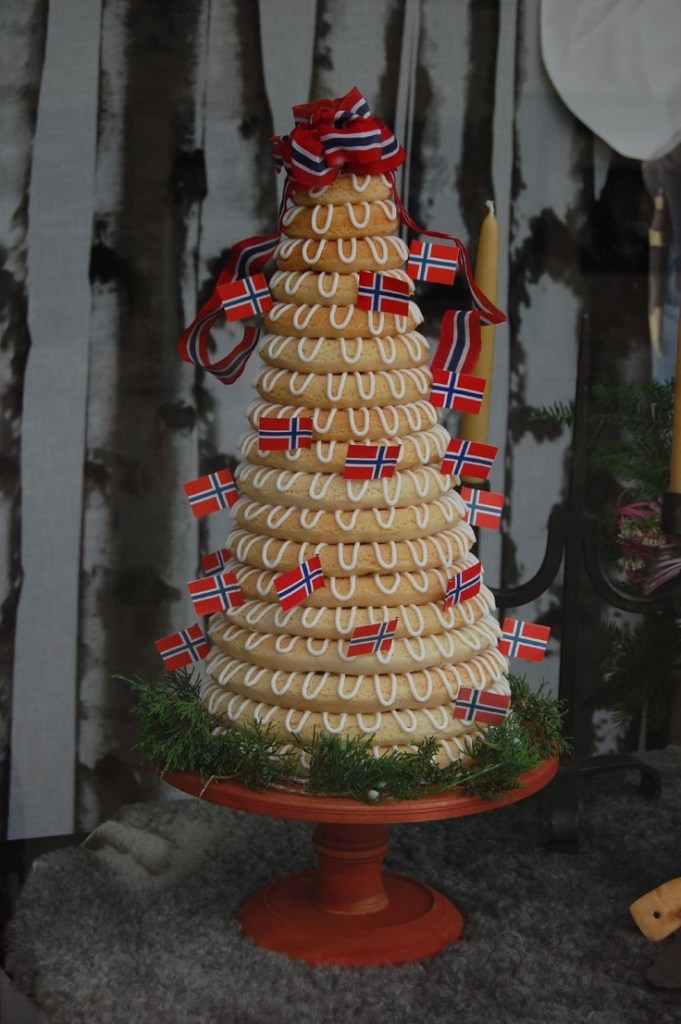
I’ve only made a Kransekake one time before, and that was for Peter and Diane’s wedding. It was Peter’s groom’s cake. Jim and Jenness had come down a couple of days before the wedding, so she was able to help me make and assemble the cake. As most of you remember, Peter and Diane’s wedding was in the middle of the day, so everything needed to be done the day before. Kransekake is made by creating 18 rings of almond dough, starting with a ring 10″ in diameter and making each subsequent ring 1/4″ shorter. When a Kransekake is made for a wedding, a bottle of champagne is often inserted in the center. The couple will then drink that champagne on their 1st anniversary. James loves Martinelli’s sparkling apple cider, so we might do something similar for him—though we definitely won’t make him wait a whole year! The rings are fairly crunchy, sort of like the texture of a biscotti, since they are made with almond paste and egg whites. I have seen recent recipes that use almond macaroon dough instead, which gives you a much chewier bite. I don’t think the rings would be as firm, so I’m not sure how well the structure holds. The rings can be made by hand by rolling dough ropes and joining them together, or you can buy a Kransekake kit that includes all the molds, which takes a lot of the measuring and math out of it. That’s what I’ll be using. The icing is very strong and will hold most of your decorations – small fairy lights, streamers, anything that signifies what you’re celebrating. If you want to make sure everything stays in place, an extra toothpick here and there will do the trick. Since this recipe is relatively long, I’m not going to include it in this blog. However, if you’re interested in making one, I’d be glad to send you the recipe. You can also find recipes for Kransekake online. I’m not sure if James will enjoy the flavor and texture of this particular birthday cake, but if nothing else, I know a couple of family members who will be glad to eat his portion! James will undoubtedly be asked what kind of cake he would like to have…. I’m guessing something with strawberries… and that cake will be the main event. But I can’t think of anything more special to make for our very special birthday person on his very special day! 🎉🎊🎈
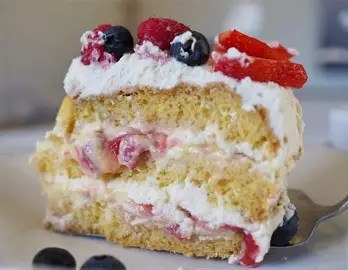
Today is the 17th of May, Norway’s Constitution Day. As with the 4th of July, everything served today is about red, white, and blue, which, interestingly, are both Norway’s and America’s flag colors. Strawberry Cream cake is the traditional cake served most often for this celebration. It is one of those super moist, delicious, melt-in-your-mouth cakes, not only because it’s filled with whipped cream and strawberries, but also because you poke small holes into the sponge cake and dribble a little bit of juice – pineapple, orange, your choice – into the holes. The cake is best assembled just before you serve it. My first taste of Strawberry Cream Cake was at the Norwegian Seamen’s Church Christmas Bazaar on Hyde Street in San Francisco. I’m sure I must have had a piece sometime in my childhood, but I actually don’t remember. My mother was a terrific baker, but we were only 4 in our immediate family, so she wouldn’t have seen the point in making one just for us. Practical people, these Norwegians! The Seaman’s Church has a fabulous Christmas Bazaar each year during the weekend right before Thanksgiving. If you have a chance to go, please do. It’s so much fun, and the food – open-faced sandwiches, Norwegian Christmas cookies, and Strawberry Cream Cake are incredible. They’re all made right there by the ladies’ group in the church’s kitchen. One thing to know ahead of time is that the parking on Hyde Street and throughout the neighborhood is two-hour parking, and the parking police are VERY VIGILANT that weekend! You are best off if you Lyft back and forth or have someone drop you off and pick you up. That way, you can spend as much time as you wish to, and I promise you, you’ll be there longer than you think. You’ll find the recipe for Norwegian Strawberry Cream Cake on page 57 of our Family Cookbook. Give it a try. I know you’re going to love it!
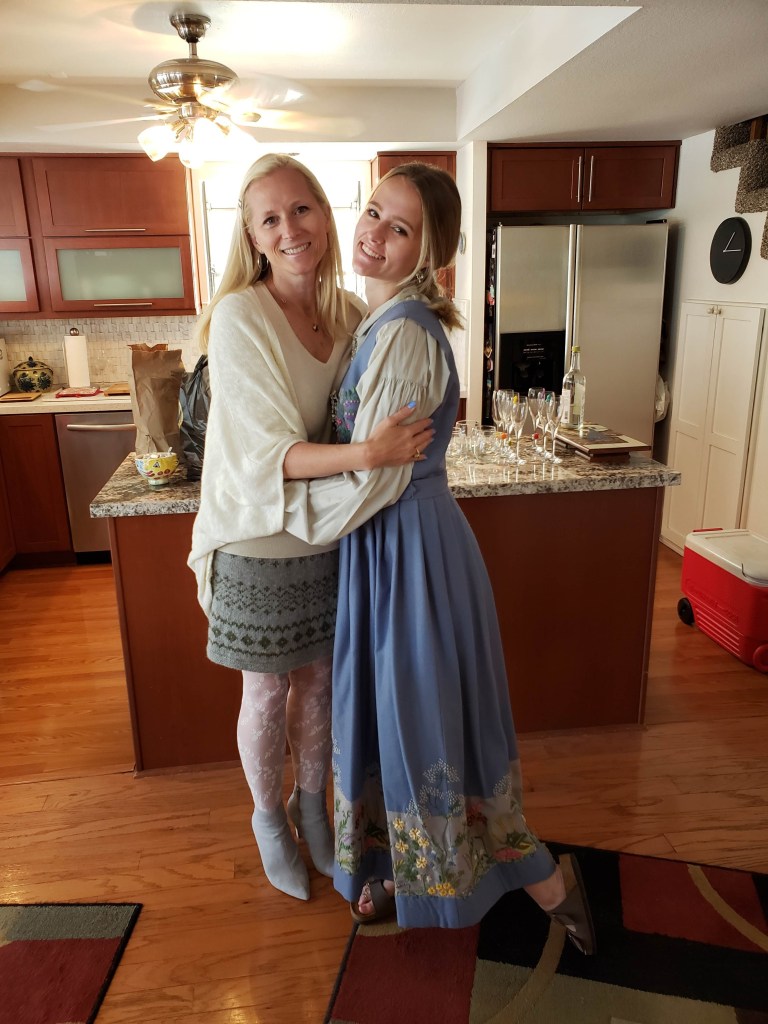
A 17th of May celebration on Savona Walk just a few years ago. Megan is wearing the Oslo bunad (national costume).💓

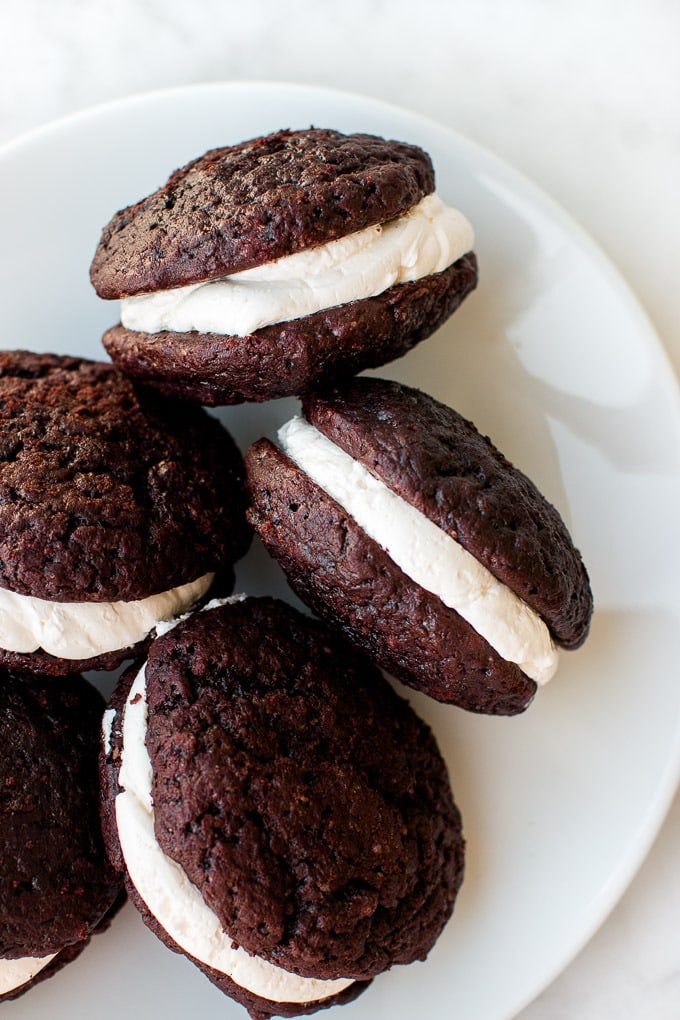
Stefan and Hayley met in Missouri while he was attending school there. When it was time for Stefan to begin working on his PhD., they decided to move to Somerville, Massachusetts, just outside of Boston. Hayley attended graduate school in Boston, and it has been a favorite place for her ever since. Her degree is in Library Sciences. She is now an archivist at Tufts University. They are both doing well and enjoying living in the Boston area. They are also happy to be close to the cottage in Maine, which is where the photo was taken. Stefan and Hayley are currently planning their wedding for August 2027. It will take place in Hayley’s hometown of St. Louis. I couldn’t think of a better recipe to go with my news than Whoopie Pies. When I think of Maine, I always think of blueberries or Whoopie Pies. Whoopie Pies are also a favorite of Josie Keller. You can find the recipe on page 69 of the Keller Family Cookbook.
This month’s entry was going to be the last in our Keller family blog series. Even though Persimmons are a Fall fruit and there won’t be any at farmers’ markets or in grocery stores for months, I knew I couldn’t end our project without sharing this special memory and really great recipe. When we decided to continue the Keller family blog for a while longer, I debated whether I should tuck this one away for another time or not. I finally decided to go ahead and share it anyway. I know the timing is a little crazy. If you wanted to make this recipe tomorrow and didn’t have leftover persimmon puree from last year, you couldn’t. But this story is such a happy memory for me. And so, even without access to persimmons, here we go!
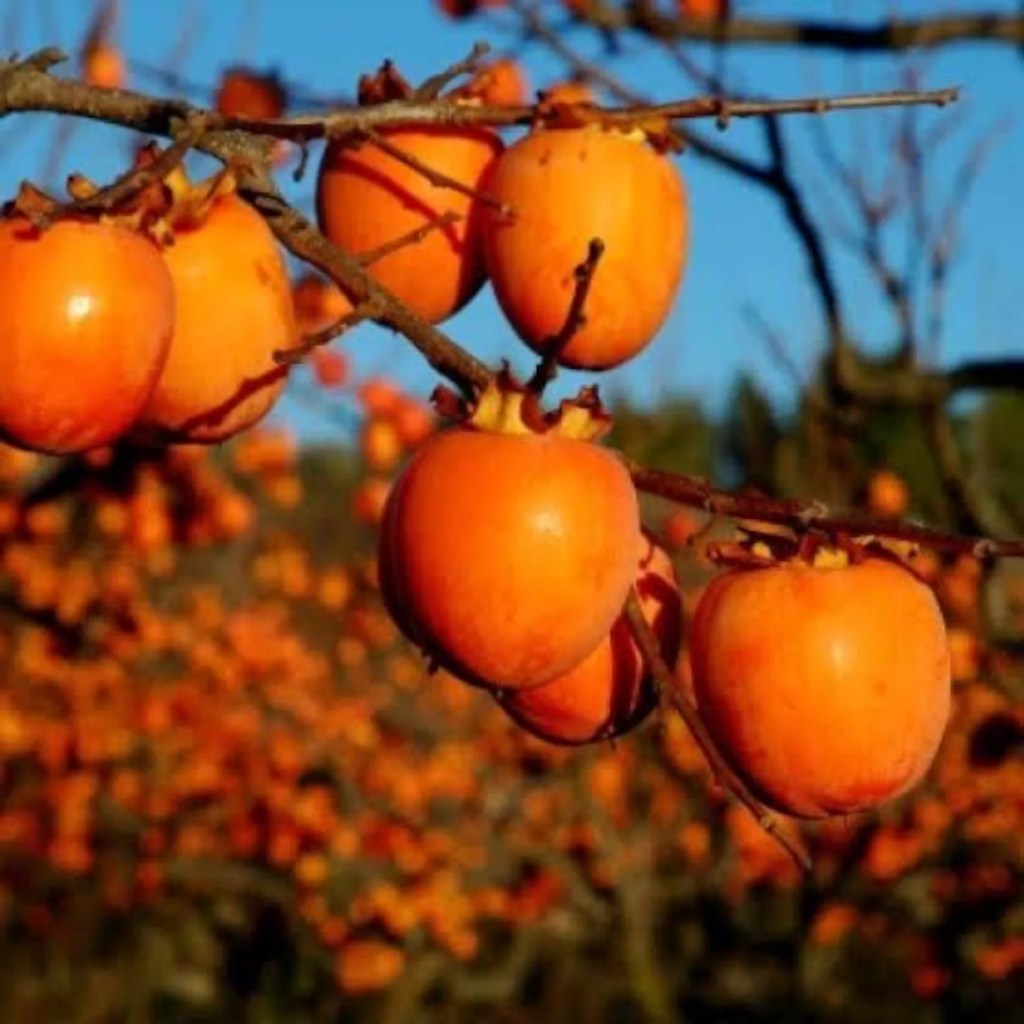
During a visit in 2010, right before Thanksgiving, Dad/Grandpa suddenly declared that Larry and I, Jim and Jenness, Grandma and Grandpa would all drive north on Highway 101, just past Cloverdale, and pick up some persimmons at a local family orchard. These were the Hachiya persimmons, which are great for cooking and baking. They are bulb-shaped with a soft point at the end.
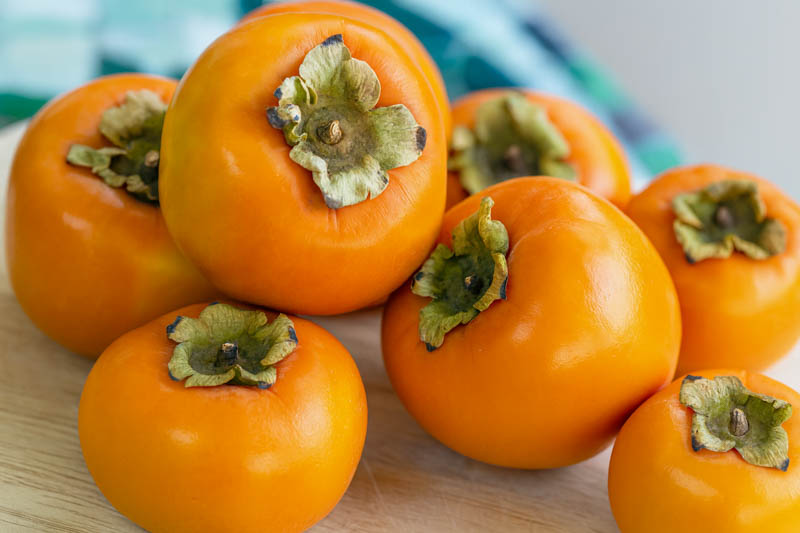
These were not the round Fuyu persimmons that you eat like an apple, as in the image below.
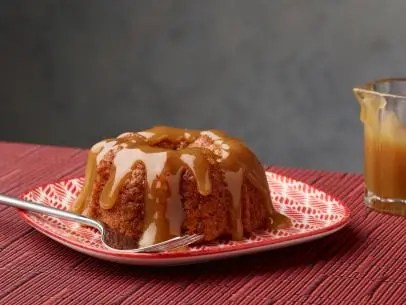
It was a beautiful drive, especially that time of year, and all too soon, we were driving up a private road toward the front of a large, old house. On the front deck of the house were benches covered with baskets full of handpicked persimmons, all perfect and ripe and being sold for an incredibly low price! As with so many other fruits, all the persimmons from the owner’s many trees came ripe at the same time. Their persimmon trees were huge. I have no idea how old they were, but they obviously had been there a long time. The birds ate the fruit at the top, where the owners couldn’t reach. But below that, the fruit was still beautiful and plentiful. It didn’t take long before we had made our purchases and were driving back to Santa Rosa with our treasures. Mom/Grandma had already given me her recipe for steamed persimmon pudding, which I made that same Christmas as one of our desserts. It’s absolutely delicious with a lemon or vanilla sauce over the top. For a celebratory dessert, you may want to try that great Hard Sauce from the recipe. I didn’t make that one (although it sounded awfully good!) because kids would also be eating my Persimmon Pudding. You will find Grandma’s Persimmon Pudding with Hard Sauce on page 59 of the Keller family cookbook.
Dad/Grandpa had a wonderful trick for turning a trove of persimmons into puree in no time at all. You put the persimmons into freezer bags and freeze them for at least overnight. When you’re ready to use your persimmons, let them thaw (make sure you leave them in the bag while they’re thawing. They get super mushy and keeping them in a bag will contain the juice for you). The pulp will come off from the skin easily, and now, your pulp is ready for the blender. I bag and freeze my persimmon pulp in 1 and 2-cup portions. That way, I’m ready to make pudding, muffins, or persimmon bread any time! Persimmon bread is especially delicious when you include raisins and toasted walnuts. If you have never made anything with Hachiya persimmons, I urge you to give them a try when November comes around. You’ll be so glad you did!

